🎉 Introduction
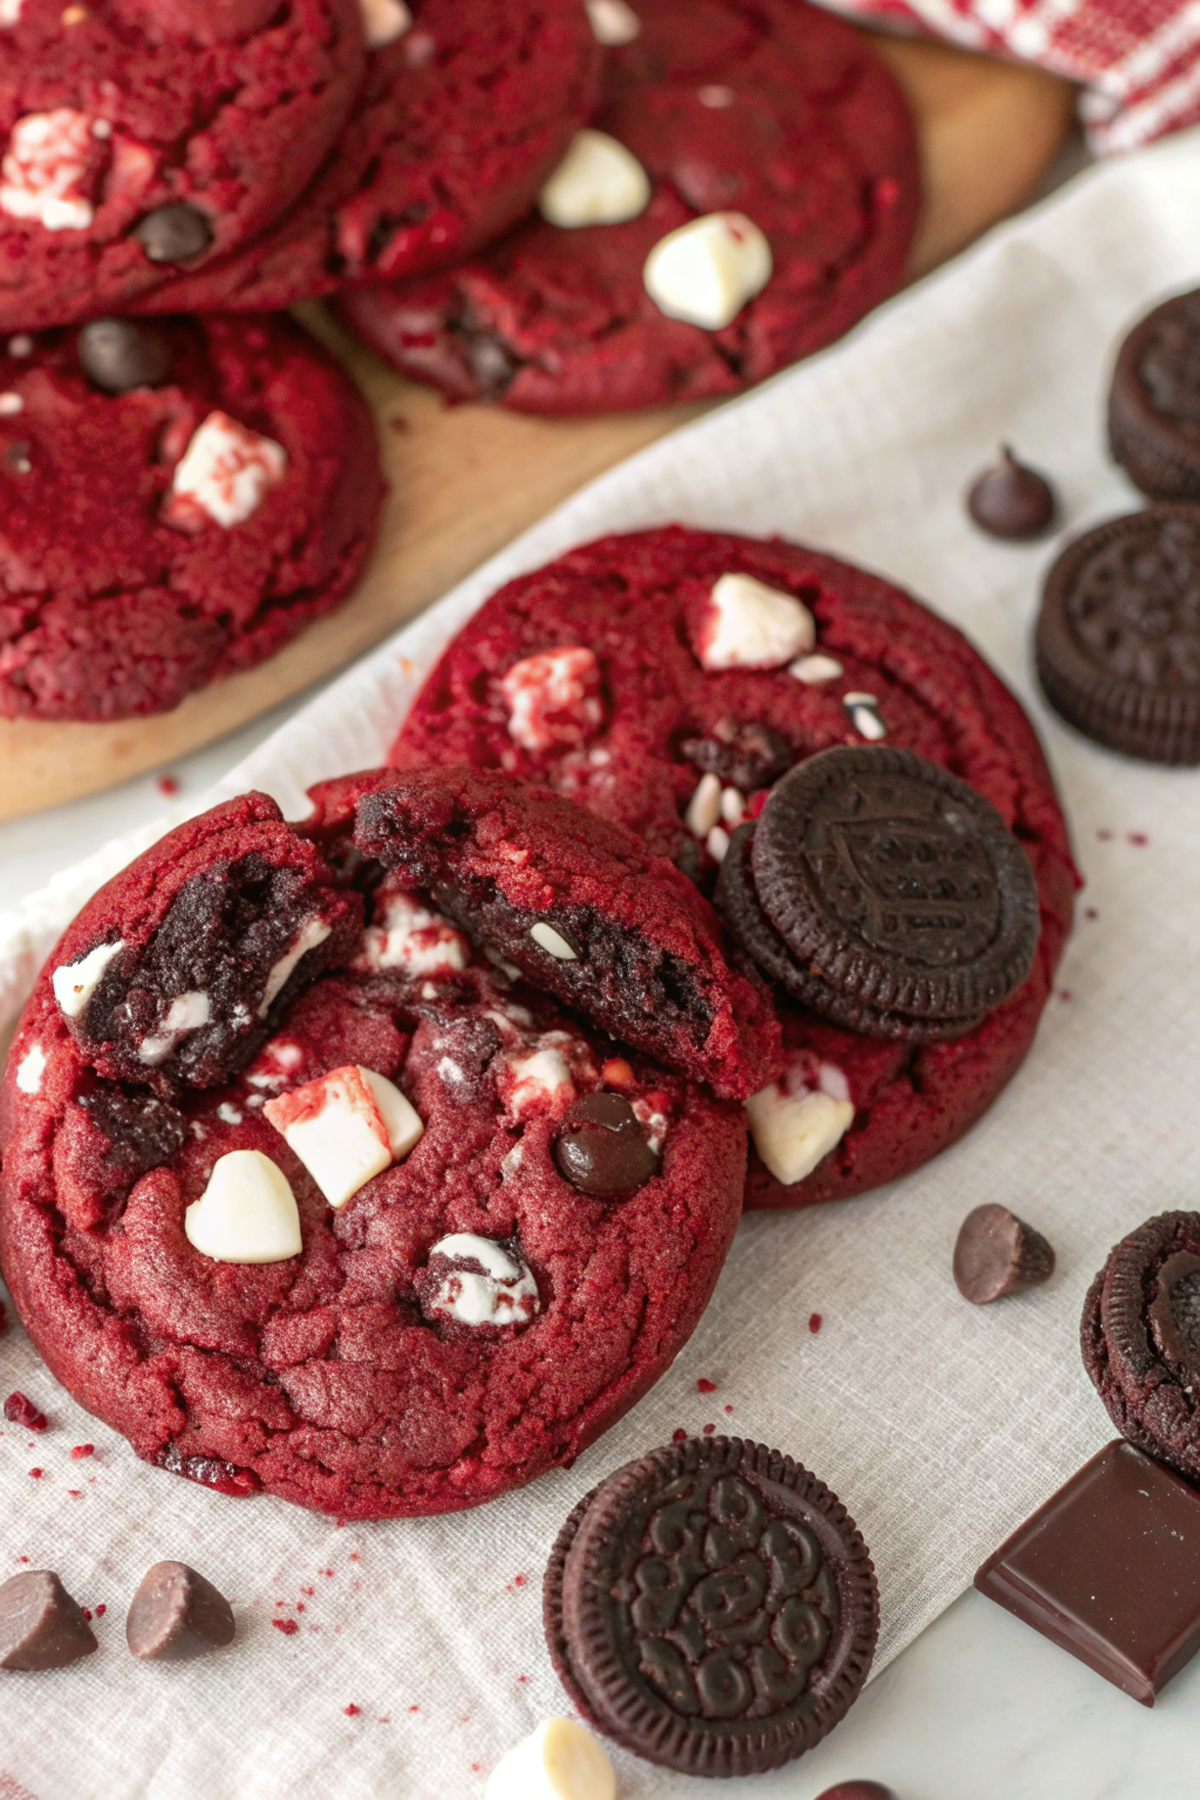
If you’re looking for a dessert that feels indulgent, eye-catching, and irresistibly delicious, these Crushed Oreo Red Velvet Cookies are exactly what you need. With their deep red color, rich cocoa flavor, and chunks of crunchy Oreos in every bite, these cookies are a perfect balance of soft, chewy, and crispy textures.
Red velvet desserts are loved for their subtle chocolate notes and luxurious feel, and when combined with crushed Oreos, they become something truly special. These cookies are perfect for holidays, special occasions, gift boxes, or simply when you want to bake something that stands out from classic cookies.
Easy to prepare and incredibly rewarding, this recipe is designed for home bakers who want bakery-style cookies without complicated techniques. One batch, one bowl of crushed Oreos, and a little patience while they bake—and you’ll have cookies everyone will ask about.
🧰 Equipment Needed
- Large mixing bowl
- Medium mixing bowl
- Whisk
- Spatula
- Electric mixer (optional)
- Measuring cups and spoons
- Baking sheet
- Parchment paper
- Cooling rack
🛒 Ingredients
For the Cookie Dough
- 2 cups all-purpose flour
- 2 tablespoons cocoa powder
- 1 teaspoon baking powder
- ¼ teaspoon salt
- ¾ cup granulated sugar
- ½ cup light brown sugar, packed
- ¾ cup unsalted butter, softened
- 1 large egg
- 1 teaspoon vanilla extract
- 1 teaspoon red food coloring
For the Mix-Ins
- 12 Oreo cookies, roughly crushed
👩🍳 Directions
Step 1: Preheat the Oven
Preheat your oven to 175°C (350°F). Line a baking sheet with parchment paper and set aside.
Step 2: Mix the Dry Ingredients
In a medium bowl, whisk together the flour, cocoa powder, baking powder, and salt. Set aside.
Step 3: Cream the Butter and Sugars
In a large bowl, beat the softened butter with granulated sugar and brown sugar until light and fluffy. This step is essential for soft, chewy cookies.
Step 4: Add Wet Ingredients
Mix in the egg, vanilla extract, and red food coloring until fully combined and smooth.
Step 5: Combine Dry and Wet Mixtures
Gradually add the dry ingredients to the wet ingredients, mixing gently until a thick dough forms. Avoid overmixing.
Step 6: Fold in Crushed Oreos
Gently fold in the crushed Oreos, ensuring they are evenly distributed throughout the dough.
Step 7: Shape the Cookies
Scoop dough into equal portions and place them on the prepared baking sheet, leaving space between each cookie.
Step 8: Bake
Bake for 10–12 minutes, or until the edges are set and the centers remain slightly soft.
Step 9: Cool
Let the cookies cool on the baking sheet for 5 minutes before transferring them to a cooling rack to cool completely.
🍽️ Servings & Timing
- Servings: 18–20 cookies
- Prep Time: 15 minutes
- Bake Time: 10–12 minutes
- Total Time: About 30 minutes
Perfect for quick baking with impressive results.
🧊 Storage & Reheating
Storage
- Store cookies in an airtight container at room temperature for up to 4 days
Freezing
- Freeze baked cookies for up to 2 months
- Thaw at room temperature before serving
Reheating
- Warm briefly in the microwave for 8–10 seconds to restore softness
🥄 Variations
- Extra Oreo Crunch: Add more crushed Oreos on top before baking
- Chocolate Lover’s Version: Add chocolate chips to the dough
- Thicker Cookies: Chill dough for 30 minutes before baking
- Mini Cookies: Scoop smaller portions and reduce baking time
- Festive Style: Add themed sprinkles on top
❓ 10 FAQs
- Do these cookies taste strongly chocolatey?
They have a balanced red velvet cocoa flavor, not overpowering. - Can I skip the food coloring?
Yes, the flavor remains the same without it. - Why are my cookies soft in the center?
They firm up slightly as they cool. - Can I use store-brand sandwich cookies?
Yes, any similar cookies work well. - Are these cookies chewy or crispy?
They’re soft and chewy with crunchy Oreo pieces. - Can I make the dough ahead of time?
Yes, refrigerate for up to 24 hours. - Do I need a mixer?
No, but it makes creaming easier. - Can kids help with this recipe?
Yes, especially crushing the cookies. - How do I keep cookies from spreading too much?
Make sure butter isn’t too soft. - What makes these cookies special?
Their bold color, soft texture, and Oreo crunch.
🏁 Conclusion
These Crushed Oreo Red Velvet Cookies are bold, beautiful, and incredibly satisfying. With their soft centers, rich cocoa notes, and crunchy Oreo pieces, they’re a standout treat that feels both fun and indulgent. Whether baked for a celebration or a cozy baking day, they’re guaranteed to impress.
Once you make them, they’ll quickly earn a permanent spot in your favorite cookie recipes.
Crushed Oreo Red Velvet Cookies – Soft, Chewy, and Decadently Chocolatey
Ingredients
✨ Kitchen Essentials You’ll Love
Quick picks I trust for better results, faster prep, and easier cleanup.
-
🍳View ↗
Lodge Seasoned Cast Iron Skillet
-
⚡View ↗
Instant Pot Duo Plus 9-in-1 Electric
-
🔥View ↗
CHEFMAN Digital Air Fryer XL 10L
Disclosure: As an Amazon Associate, I earn from qualifying purchases at no extra cost to you.
Equipment
Method
- Preheat your oven to 175°C (350°F). Line a baking sheet with parchment paper and set aside.
- In a medium bowl, whisk together the flour, cocoa powder, baking powder, and salt. Set aside.
- In a large bowl, beat the softened butter with granulated sugar and brown sugar until light and fluffy. This step is essential for soft, chewy cookies.
- Mix in the egg, vanilla extract, and red food coloring until fully combined and smooth.
- Gradually add the dry ingredients to the wet ingredients, mixing gently until a thick dough forms. Avoid overmixing.
- Gently fold in the crushed Oreos, ensuring they are evenly distributed throughout the dough.
- Scoop dough into equal portions and place them on the prepared baking sheet, leaving space between each cookie.
- Bake for 10–12 minutes, or until the edges are set and the centers remain slightly soft.
- Let the cookies cool on the baking sheet for 5 minutes before transferring them to a cooling rack to cool completely.
Notes
They have a balanced red velvet cocoa flavor, not overpowering. Can I skip the food coloring?
Yes, the flavor remains the same without it. Why are my cookies soft in the center?
They firm up slightly as they cool. Can I use store-brand sandwich cookies?
Yes, any similar cookies work well. Are these cookies chewy or crispy?
They’re soft and chewy with crunchy Oreo pieces. Can I make the dough ahead of time?
Yes, refrigerate for up to 24 hours. Do I need a mixer?
No, but it makes creaming easier. Can kids help with this recipe?
Yes, especially crushing the cookies. How do I keep cookies from spreading too much?
Make sure butter isn’t too soft. What makes these cookies special?
Their bold color, soft texture, and Oreo crunch. 🏁 Conclusion These Crushed Oreo Red Velvet Cookies are bold, beautiful, and incredibly satisfying. With their soft centers, rich cocoa notes, and crunchy Oreo pieces, they’re a standout treat that feels both fun and indulgent. Whether baked for a celebration or a cozy baking day, they’re guaranteed to impress. Once you make them, they’ll quickly earn a permanent spot in your favorite cookie recipes.