🎉 Introduction
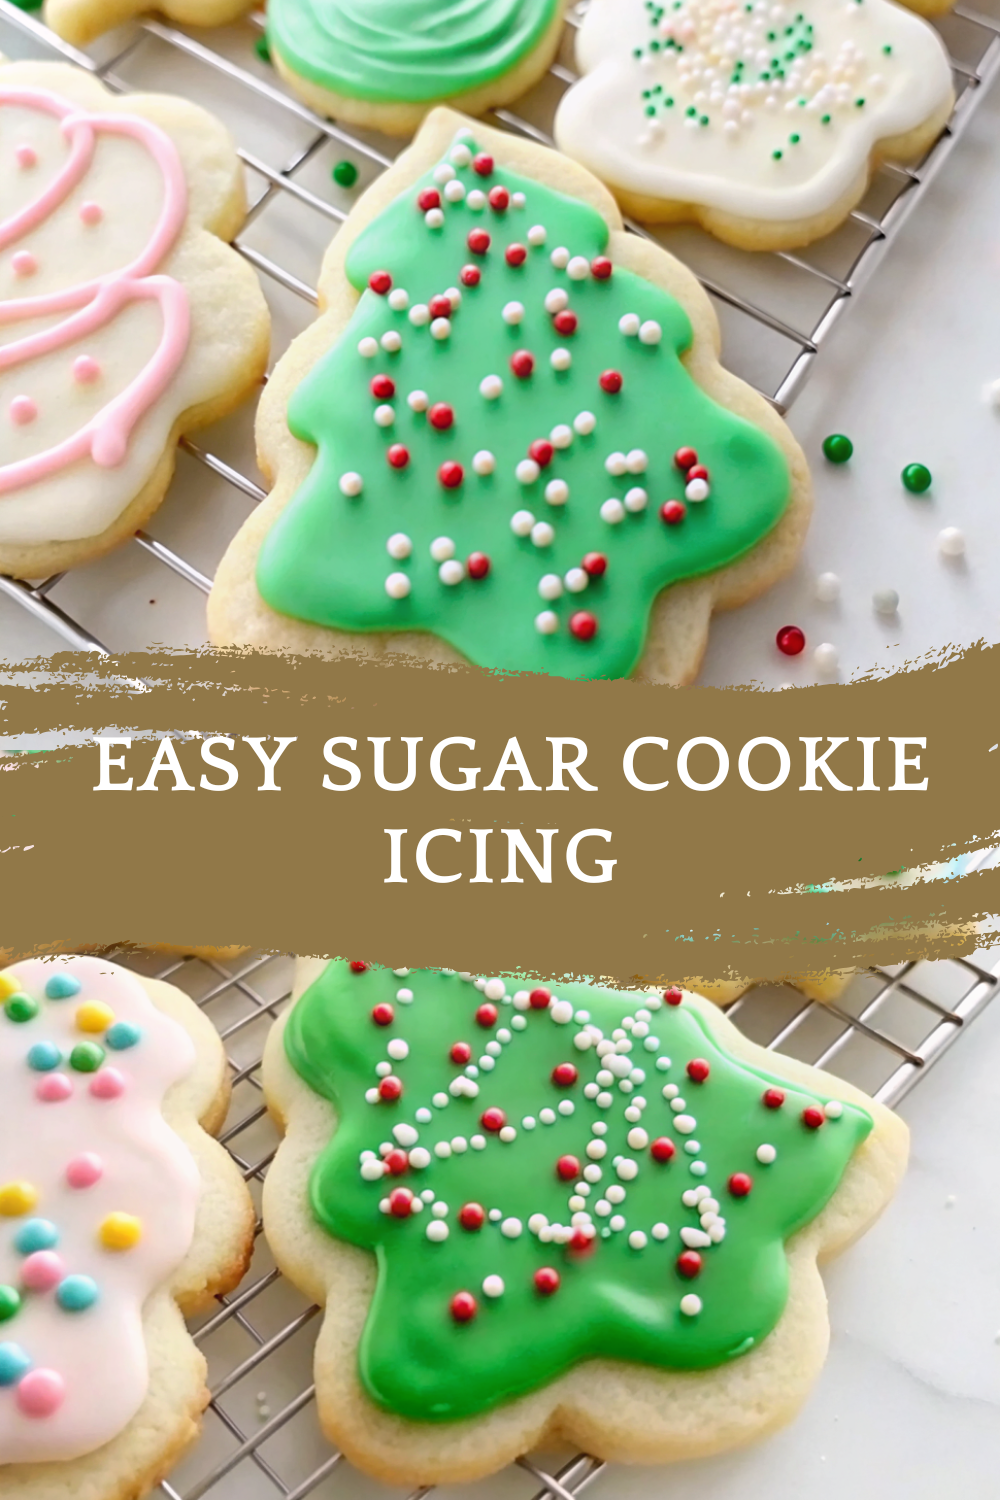
Decorating cookies just got easier — and sweeter! This Easy Sugar Cookie Icing is silky, glossy, and made from simple pantry ingredients. It glides beautifully over cookies, dries firm to the touch, and tastes as good as it looks.
No royal icing? No problem! This version skips the meringue powder and replaces it with corn syrup or honey for shine and smoothness. It’s perfect for Christmas cookies, birthday treats, Valentine hearts, or any occasion that calls for a pop of color and sweetness.
Ready in minutes and endlessly customizable with vanilla flavoring and food coloring, it’s the go-to icing recipe for every home baker.
🧰 Equipment Needed
You’ll need just a few simple tools:
- Mixing bowl
- Whisk or hand mixer
- Measuring cups and spoons
- Piping bags or squeeze bottles
- Small bowls (for color mixing)
- Toothpicks (for detailed designs)
🛒 Ingredients
Condiments
- 1 tbsp Light corn syrup (or honey)
Dry & Flavoring Ingredients
- 2 cups Powdered sugar
- 1 tsp Vanilla extract
- Food coloring, any color or combination you like
Dairy
- 2 tbsp Milk (plus more as needed for consistency)
👩🍳 Directions
step1:
In a medium mixing bowl, whisk together the powdered sugar and milk until smooth and free of lumps. Start with 2 tbsp milk and add more if the icing is too thick.
step2:
Stir in the vanilla extract and corn syrup (or honey). Mix well until the icing becomes shiny and smooth. The corn syrup adds that glossy bakery finish and prevents cracking.
step3:
Check the consistency:
- For outlining, keep it thick enough to hold its shape.
- For flooding, add a few more drops of milk until it flows easily.
step4:
Divide the icing into smaller bowls and add food coloring of your choice. Mix each color thoroughly.
step5:
Spoon or pour the icing into piping bags or squeeze bottles for precise decorating.
step6:
Apply to completely cooled sugar cookies. Outline first, then fill in. Use a toothpick to spread the icing evenly and pop any bubbles.
step7:
Let the cookies dry at room temperature for 6–8 hours, or overnight, until the surface is smooth and firm to the touch.
🍽️ Servings & Timing
- Makes: Enough for 20–24 cookies
- Prep time: 10 minutes
- Decorating time: Varies (about 15–20 minutes for a batch)
- Drying time: 6–8 hours
🧊 Storage & Reheating
- Store unused icing in an airtight container for up to 3 days at room temperature.
- Stir before using — it may thicken slightly.
- Refrigerate for longer storage (up to 1 week).
- To reuse, bring to room temperature and add a few drops of milk if needed.
🥄 Variations
- Lemon Icing: Replace vanilla with 1 tsp lemon juice for a tangy twist.
- Almond Icing: Add ¼ tsp almond extract for that bakery sugar cookie flavor.
- Chocolate Icing: Mix in 1 tsp cocoa powder for a mocha finish.
- Glittery Finish: Add edible glitter or metallic sugar before icing dries.
- Honey Version: Swap corn syrup with honey for a warmer flavor and natural shine.
❓ 10 FAQs
1. Does this icing harden completely?
Yes — it dries firm to the touch but stays soft underneath for easy biting.
2. Can I use water instead of milk?
Yes, though milk gives a richer flavor and smoother texture.
3. What’s the difference between this and royal icing?
This version is softer, glossier, and easier to make — no meringue powder needed!
4. How long does it take to dry?
Typically 6–8 hours at room temperature. Humidity may affect drying time.
5. Can I refrigerate decorated cookies?
You can, but store them in a single layer so the icing doesn’t smudge.
6. Can I make pastel or bright colors?
Use gel food coloring for vibrant hues without thinning the icing.
7. Can I freeze cookies with this icing?
Yes — freeze in single layers separated by parchment paper.
8. Why use corn syrup?
It gives a glossy shine and prevents icing from cracking as it dries.
9. Can I add other extracts?
Absolutely! Try peppermint, maple, or orange for seasonal variations.
10. How do I fix icing that’s too thin?
Add a spoonful of powdered sugar and mix again until desired consistency.
🏁 Conclusion
This Easy Sugar Cookie Icing is the perfect decorating solution — quick, glossy, and deliciously sweet. It’s foolproof for beginners yet elegant enough for holiday cookie trays.
Use it to create everything from snowflakes and hearts to colorful sprinkles and drizzle designs. Once it sets, your cookies will look bakery-perfect and taste even better!
Easy Sugar Cookie Icing – Smooth, Shiny & Deliciously Simple
Ingredients
✨ Kitchen Essentials You’ll Love
Quick picks I trust for better results, faster prep, and easier cleanup.
-
🍳View ↗
Lodge Seasoned Cast Iron Skillet
-
⚡View ↗
Instant Pot Duo Plus 9-in-1 Electric
-
🔥View ↗
CHEFMAN Digital Air Fryer XL 10L
Disclosure: As an Amazon Associate, I earn from qualifying purchases at no extra cost to you.
Equipment
Method
- In a medium mixing bowl, whisk together the powdered sugar and milk until smooth and free of lumps. Start with 2 tbsp milk and add more if the icing is too thick.
- Stir in the vanilla extract and corn syrup (or honey). Mix well until the icing becomes shiny and smooth. The corn syrup adds that glossy bakery finish and prevents cracking.
- Check the consistency:
- For outlining, keep it thick enough to hold its shape.
- For flooding, add a few more drops of milk until it flows easily.
- Divide the icing into smaller bowls and add food coloring of your choice. Mix each color thoroughly.
- Spoon or pour the icing into piping bags or squeeze bottles for precise decorating.
- Apply to completely cooled sugar cookies. Outline first, then fill in. Use a toothpick to spread the icing evenly and pop any bubbles.
- Let the cookies dry at room temperature for 6–8 hours, or overnight, until the surface is smooth and firm to the touch.
Notes
Yes — it dries firm to the touch but stays soft underneath for easy biting. 2. Can I use water instead of milk?
Yes, though milk gives a richer flavor and smoother texture. 3. What’s the difference between this and royal icing?
This version is softer, glossier, and easier to make — no meringue powder needed! 4. How long does it take to dry?
Typically 6–8 hours at room temperature. Humidity may affect drying time. 5. Can I refrigerate decorated cookies?
You can, but store them in a single layer so the icing doesn’t smudge. 6. Can I make pastel or bright colors?
Use gel food coloring for vibrant hues without thinning the icing. 7. Can I freeze cookies with this icing?
Yes — freeze in single layers separated by parchment paper. 8. Why use corn syrup?
It gives a glossy shine and prevents icing from cracking as it dries. 9. Can I add other extracts?
Absolutely! Try peppermint, maple, or orange for seasonal variations. 10. How do I fix icing that’s too thin?
Add a spoonful of powdered sugar and mix again until desired consistency. 🏁 Conclusion This Easy Sugar Cookie Icing is the perfect decorating solution — quick, glossy, and deliciously sweet. It’s foolproof for beginners yet elegant enough for holiday cookie trays. Use it to create everything from snowflakes and hearts to colorful sprinkles and drizzle designs. Once it sets, your cookies will look bakery-perfect and taste even better!