Ingredients
✨ Kitchen Essentials You’ll Love
Quick picks I trust for better results, faster prep, and easier cleanup.
-
🍳View ↗
Lodge Seasoned Cast Iron Skillet
-
⚡View ↗
Instant Pot Duo Plus 9-in-1 Electric
-
🔥View ↗
CHEFMAN Digital Air Fryer XL 10L
Disclosure: As an Amazon Associate, I earn from qualifying purchases at no extra cost to you.
Equipment
Method
Step 1: Prep the Pan
- Line a 9x13-inch pan with parchment paper.
- Lightly grease with nonstick spray.
Step 2: Make the Rice Krispie Base
- In a large saucepan, melt butter over low heat.
- Add marshmallows and stir until completely melted.
- Remove from heat and quickly stir in cereal until coated.
Step 3: Press Into Pan
- Transfer mixture to prepared pan.
- Press down gently with a spatula (don’t compact too much or treats will be hard).
- Let cool completely.
Step 4: Cut Into Bars
- Once cooled, lift from pan and cut into rectangles. These will be Frankenstein’s heads.
Step 5: Melt Green Candy Coating
- In a microwave-safe bowl, melt green candy melts in 30-second intervals, stirring until smooth.
Step 6: Coat the Treats
- Dip each rice krispie rectangle halfway into melted green candy, letting excess drip off.
- Place on parchment to set.
Step 7: Add Hair & Face
- Melt black candy melts.
- Dip top edge of each bar into black candy to create Frankenstein’s hair.
- Before candy sets, add royal icing eyes.
Step 8: Add Bolts
- Stick black jimmies sprinkles into sides as bolts.
Step 9: Draw Mouths
- Use a toothpick dipped in melted black candy (or edible marker) to draw a scarred mouth.
Step 10: Set & Serve
- Let all decorations harden, then serve on a festive platter.
Notes
🧊 Storage & Reheating
Room Temperature: Store in airtight container for up to 3 days.
Refrigerator: Not recommended (makes them hard).
Freezer: Freeze undecorated bars up to 1 month. Dip and decorate after thawing.
🥄 Variations
Other Monsters: Make mummies (white candy melts + drizzle lines), pumpkins (orange candy melts + green candy stem), or ghosts (white candy melts + candy eyes).
Flavored Twist: Add ½ tsp pumpkin pie spice or cinnamon to marshmallow mixture.
Mini Monsters: Cut into bite-sized squares for kids’ parties.
Gluten-Free: Use gluten-free crisp rice cereal.
Nutty Version: Add peanut butter or almond butter to melted marshmallows before mixing with cereal.
❓ 10 FAQs
Can I make these ahead of time?
Yes, make up to 2 days in advance and store airtight.
Do I need to use candy melts?
Candy melts set best, but white chocolate with food coloring works too.
How do I stop Rice Krispie treats from getting hard?
Don’t overcook marshmallows; melt just until smooth.
Can kids help with this recipe?
Yes! Kids love decorating with candy eyes and sprinkles.
Can I skip the black jimmies for bolts?
Sure—use mini chocolate chips or candy pearls instead.
Do I need a candy thermometer?
No, just melt candy melts slowly in the microwave.
How do I make them extra gooey?
Add an extra cup of mini marshmallows to the cereal mixture.
Can I use regular marshmallows?
Yes, just chop into smaller pieces for quicker melting.
What if I don’t have royal icing eyes?
Pipe dots of white and black icing for DIY eyes.
Do they travel well for parties?
Yes, just layer between parchment in a lidded container.
🏁 Conclusion
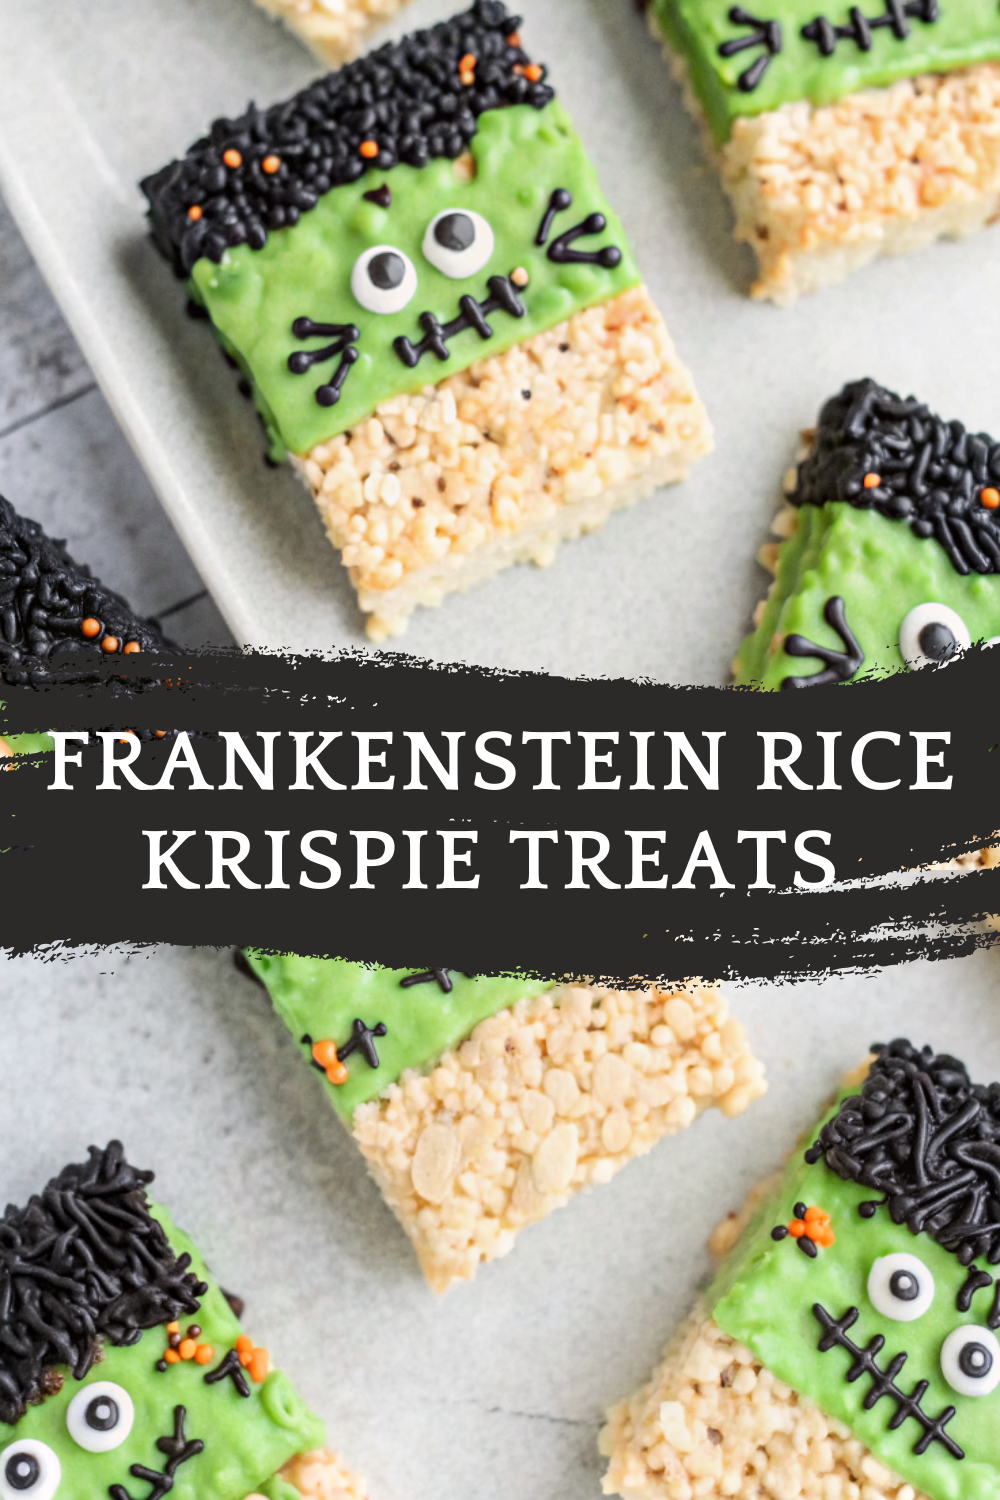
These Frankenstein Rice Krispie Treats are the ultimate no-bake Halloween dessert. They’re festive, adorable, and so simple to make. Perfect for school parties, bake sales, or family movie nights, they’ll be a hit with both kids and adults. Bring a tray of these green, goofy-faced monsters to your next Halloween gathering, and watch them disappear faster than a ghost in the night!
These Frankenstein Rice Krispie Treats are the ultimate no-bake Halloween dessert. They’re festive, adorable, and so simple to make. Perfect for school parties, bake sales, or family movie nights, they’ll be a hit with both kids and adults. Bring a tray of these green, goofy-faced monsters to your next Halloween gathering, and watch them disappear faster than a ghost in the night!