Ingredients
✨ Kitchen Essentials You’ll Love
Quick picks I trust for better results, faster prep, and easier cleanup.
-
🍳View ↗
Lodge Seasoned Cast Iron Skillet
-
⚡View ↗
Instant Pot Duo Plus 9-in-1 Electric
-
🔥View ↗
CHEFMAN Digital Air Fryer XL 10L
Disclosure: As an Amazon Associate, I earn from qualifying purchases at no extra cost to you.
Equipment
Method
Step 1
- Preheat your oven to 350°F (175°C). Line your baking sheets with parchment paper and set aside.
Step 2
- In a medium bowl, whisk together flour, cocoa powder, bicarbonate of soda, and salt. Set this dry mixture aside — it will form the base of your cookie dough.
Step 3
- In a large mixing bowl, cream the butter and granulated sugar together until light and fluffy, about 2–3 minutes.
Step 4
- Add the golden syrup and vanilla extract, mixing until smooth and glossy.
Step 5
- Gradually add the dry ingredients to the butter mixture. Mix until a thick dough forms — it should be firm but pliable. If it feels too soft, chill for 15 minutes before rolling.
Step 6
- Dust your work surface lightly with flour or cocoa powder. Roll the dough out to about ¼ inch thickness.
Step 7
- Use a round or bat-shaped cookie cutter to cut out your cookies. If using round cutters, you can later decorate them with bat wings made of sprinkles or paper for a fun twist.
Step 8
- Place the cookies onto prepared baking sheets about 1 inch apart.
Step 9
- Bake for 10–12 minutes, or until the edges are set. The cookies will crisp up as they cool, so don’t overbake.
Step 10
- Let the cookies cool on the baking sheet for 5 minutes, then transfer them to a wire rack to cool completely.
Step 11
- While the cookies cool, make the vanilla cream filling. In a clean bowl, beat the butter until light and smooth.
Step 12
- Gradually add the icing sugar, mixing on low speed until incorporated. Add the vanilla extract and a small pinch of salt. Beat until creamy and fluffy.
Step 13
- If you want to add a fall or Halloween twist, divide the filling and tint it orange or purple with food coloring.
Step 14
- Once cookies are cool, spread or pipe about a teaspoon of filling onto the flat side of one cookie.
Step 15
- Top with another cookie to create a sandwich and press gently to spread the filling evenly to the edges.
Step 16
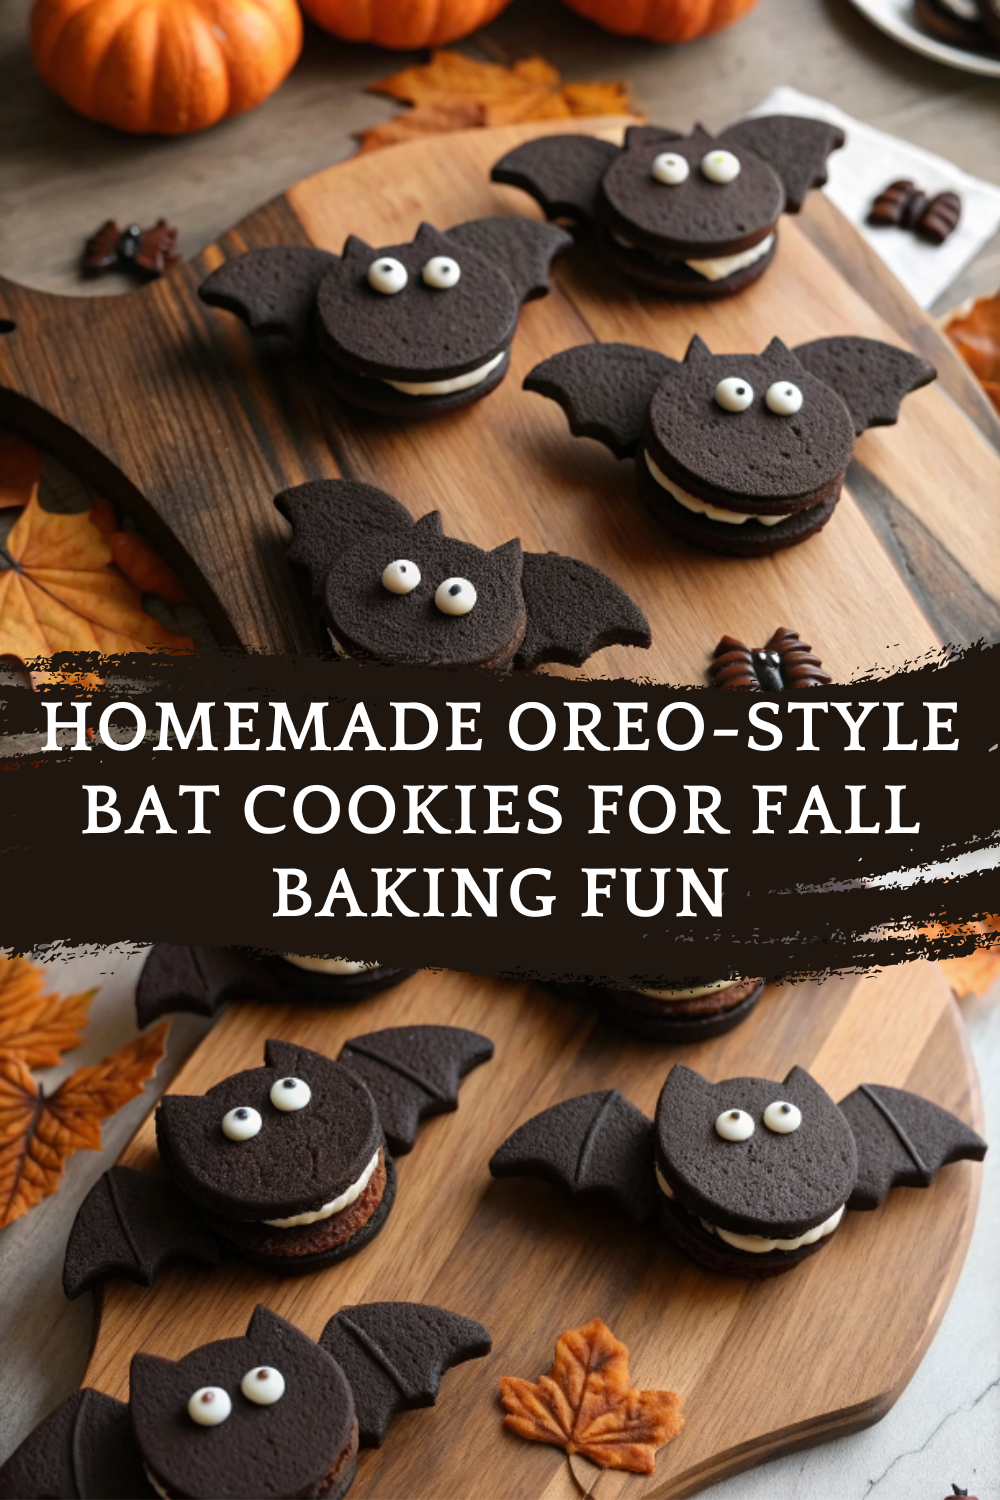
- To make your bat faces, use melted chocolate or a dab of filling to attach candy eyes to the top of each cookie.
Step 17
- Add chocolate sprinkles or bat-shaped sprinkles for texture and decoration.
Step 18
- Optional: For an extra cute touch, you can cut small bat wings out of black paper or fondant and insert them into the filling on each side of the cookie.
Step 19
- Chill the cookies in the refrigerator for 10–15 minutes to set the filling and decorations.
Step 20
- Serve your Homemade Oreo-Style Bat Cookies with a glass of milk or hot cocoa for the ultimate fall treat! 🍂
Notes
🧊 Storage & Reheating
– Store cookies in an airtight container at room temperature for up to 5 days.
– You can refrigerate them for longer freshness — up to 7 days.
– Freeze undecorated cookies for up to 2 months. Thaw at room temperature before filling.
– Avoid direct sunlight or humidity to prevent filling from softening. Tip: Place parchment between cookie layers to keep decorations intact. 🥄 Variations Give your Homemade Oreo-Style Bat Cookies some creative flair with these fun variations: Pumpkin Spice Filling: Add ½ tsp pumpkin pie spice to the cream for a fall twist. Chocolate Lovers’ Edition: Mix melted chocolate into the filling for a double-chocolate version. Vanilla Bats: Skip cocoa and make vanilla sandwich cookies with black food coloring. Red Velvet Bats: Add a touch of red food coloring for a devilish hue. Glow-in-the-Dark Icing: Use edible glow dust for a spooky glow under blacklight. Crunchy Bats: Roll dough thinner for crispier cookies. Fudgy Bats: Leave dough slightly thicker for softer, brownie-like cookies. Nutty Filling: Add a tablespoon of nut butter to the cream for a nutty twist. Mini Bat Bites: Use a small cutter to make bite-sized sandwich cookies. Spooky Web Design: Drizzle white icing webs across the top for an eerie spider web effect. ❓ 10 FAQs Can I make the dough ahead of time?
Yes, refrigerate for up to 3 days or freeze for up to 2 months. Thaw before rolling. Do I need a bat-shaped cutter?
No — round cookies work perfectly. You can add bat wings with paper or fondant for the same look. Can I use honey instead of golden syrup?
You can, but golden syrup gives a better texture and flavor. What’s the best cocoa powder to use?
Use unsweetened cocoa powder for a rich, classic Oreo flavor. Can I make them vegan?
Yes — use vegan butter and a plant-based syrup substitute. Can I color the filling?
Absolutely! Try orange, purple, or green for Halloween flair. How can I make them extra crispy?
Bake for an additional 1–2 minutes and cool completely before filling. Can kids help decorate?
Yes! Kids will love adding the candy eyes and sprinkles. Do I need to chill the cookies before baking?
Only if the dough feels too soft — this helps maintain shape. How do I make them look professional?
Pipe even circles of filling, smooth edges with a spatula, and chill before serving for a clean, polished look. 🏁 Conclusion These Homemade Oreo-Style Bat Cookies are everything you love about classic sandwich cookies — crispy chocolate wafers, creamy filling, and a touch of whimsy — with a spooky seasonal twist! They’re fun to make, delightfully chocolatey, and perfect for Halloween parties or cozy fall afternoons. Whether you’re baking with family or preparing treats for a crowd, these little bats are guaranteed to take flight straight off the dessert table. So this fall, skip the store-bought cookies and whip up a batch of these Homemade Oreo-Style Bat Cookies. They’re cute, crunchy, and packed with flavor — the perfect way to celebrate the season, one delicious bite at a time!